-
Pe
chevron_right
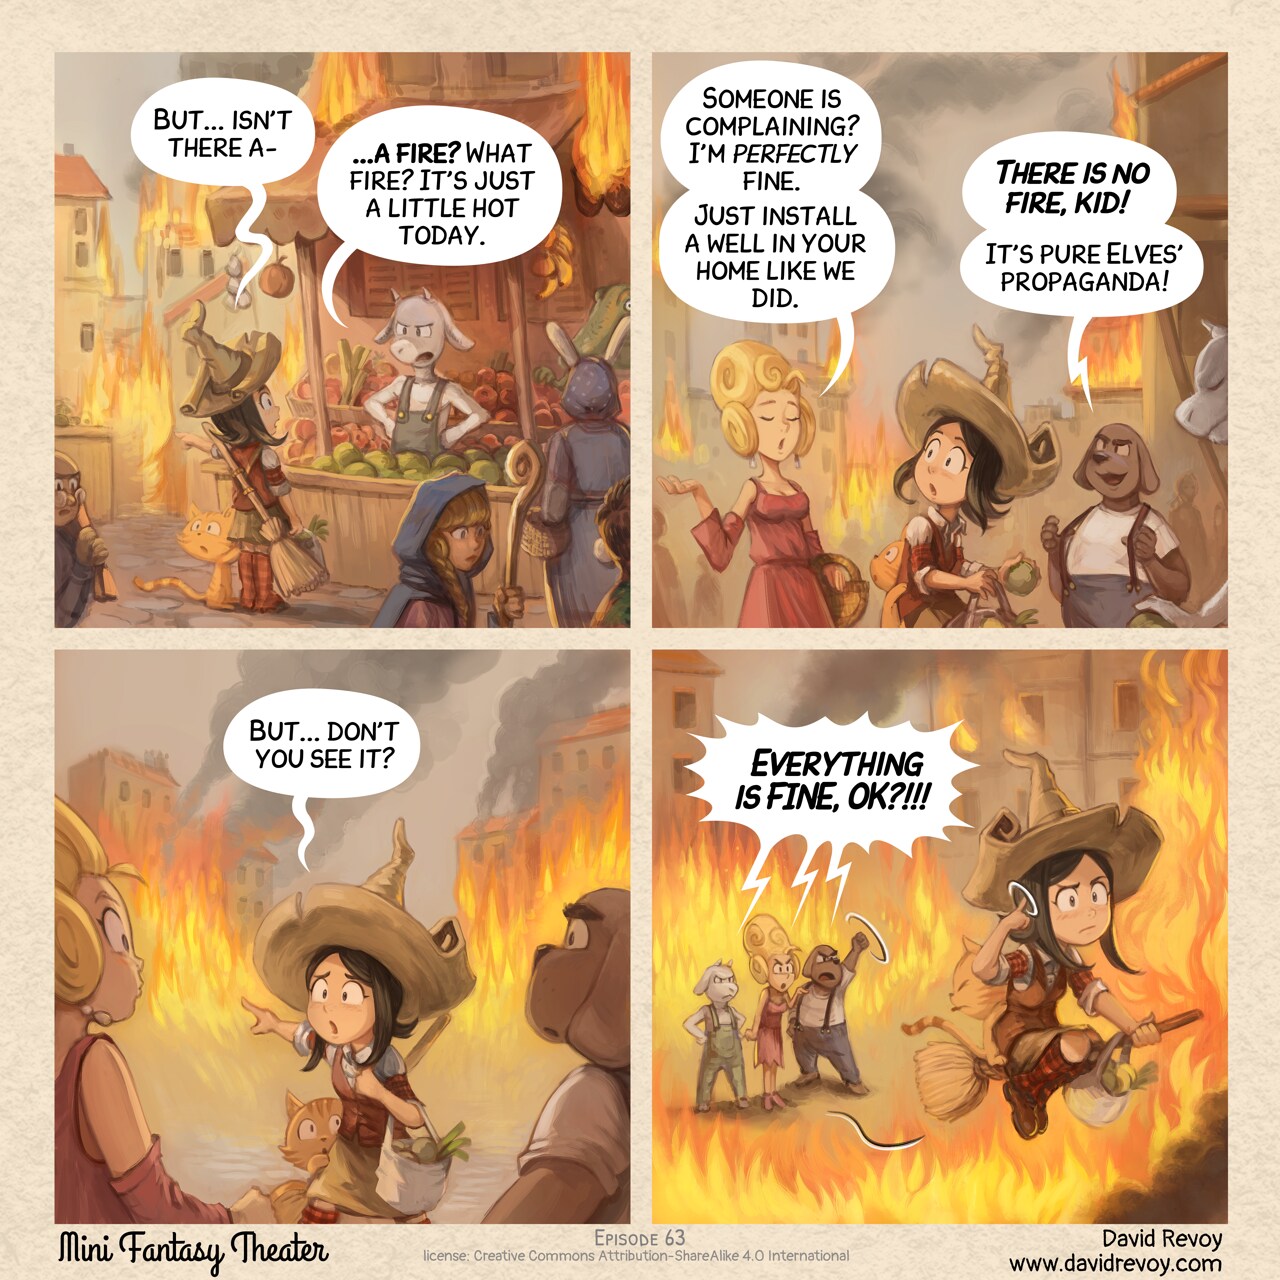
Fire
comics.movim.eu / PepperCarrot • 2 days ago
-
Public subscriptions
-
Blue
-
so
- group_work rss_feed
-
Pe
chevron_right
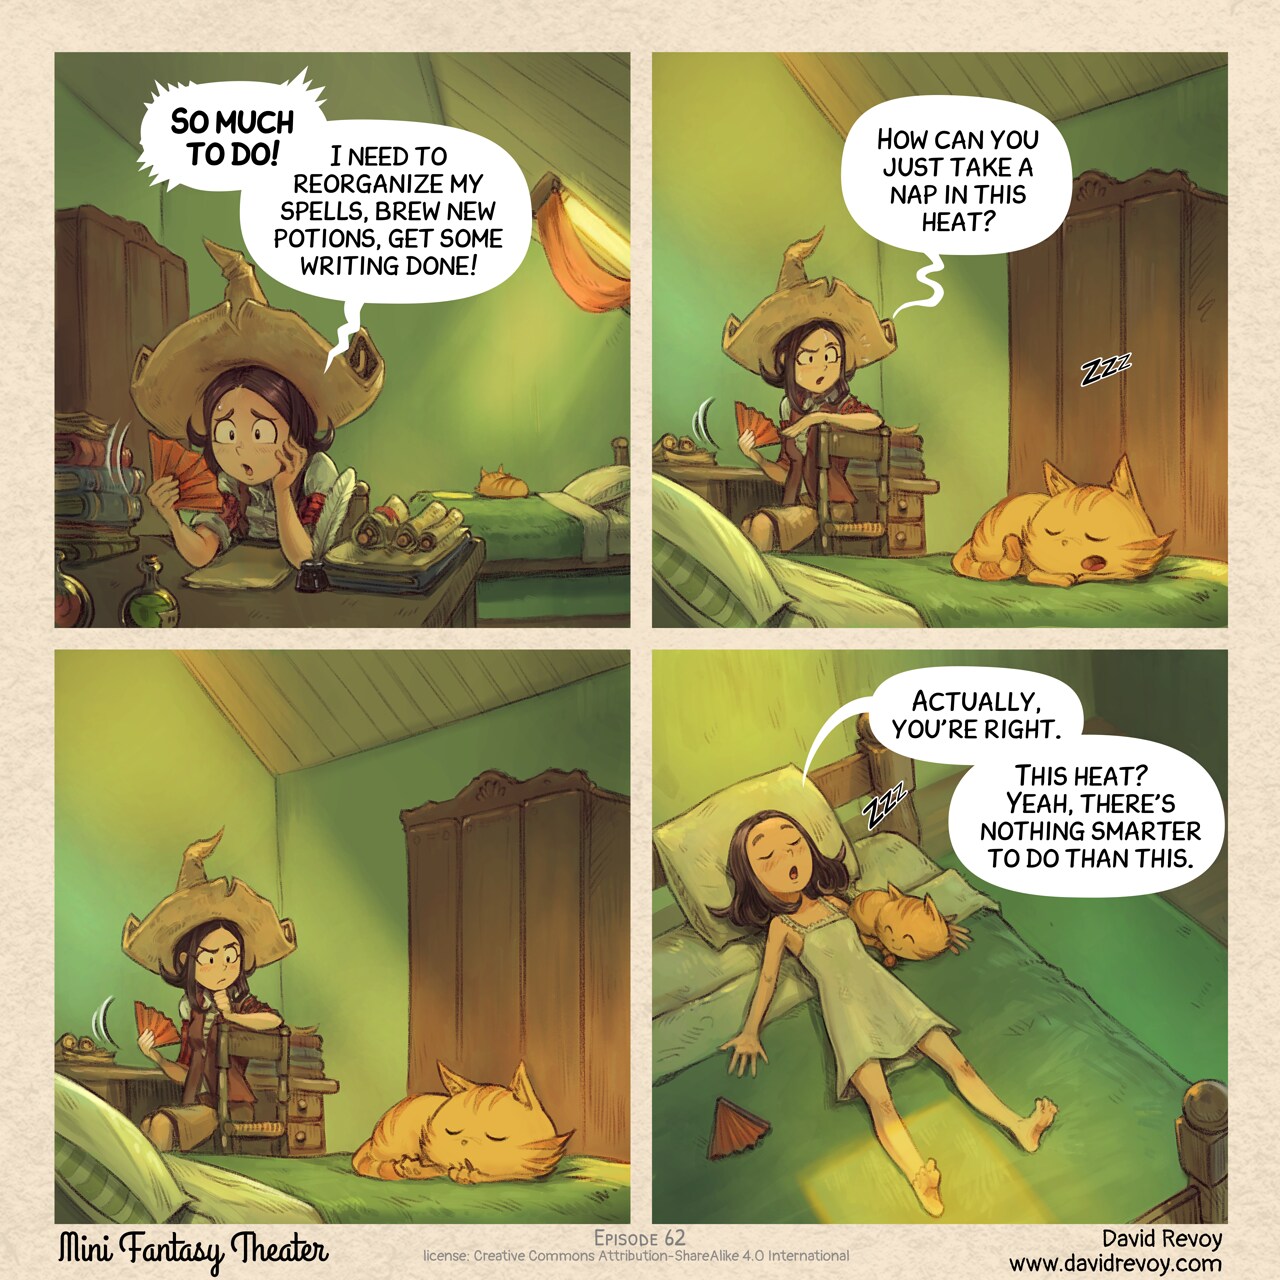
Chill Out
comics.movim.eu / PepperCarrot • 22 July 2026
-
Pe
chevron_right
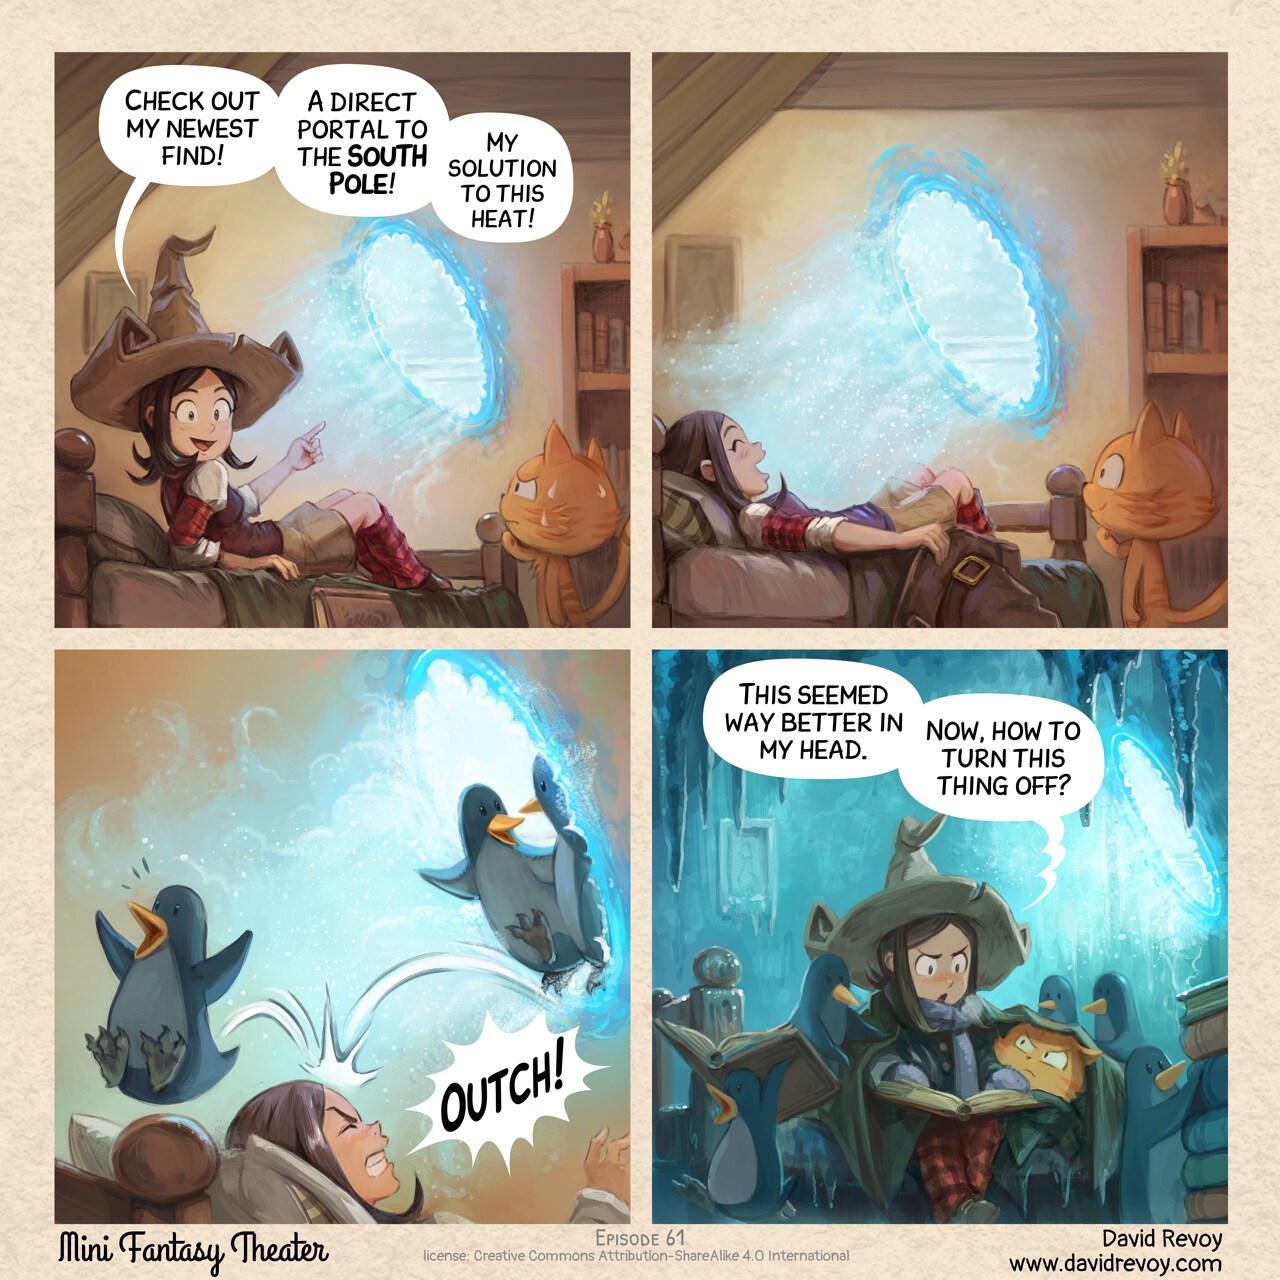
Magic Portal
comics.movim.eu / PepperCarrot • 15 July 2026
-
Pe
chevron_right
Monthly production report for June 2026
comics.movim.eu / PepperCarrot • 9 July 2026
-
Pe
chevron_right
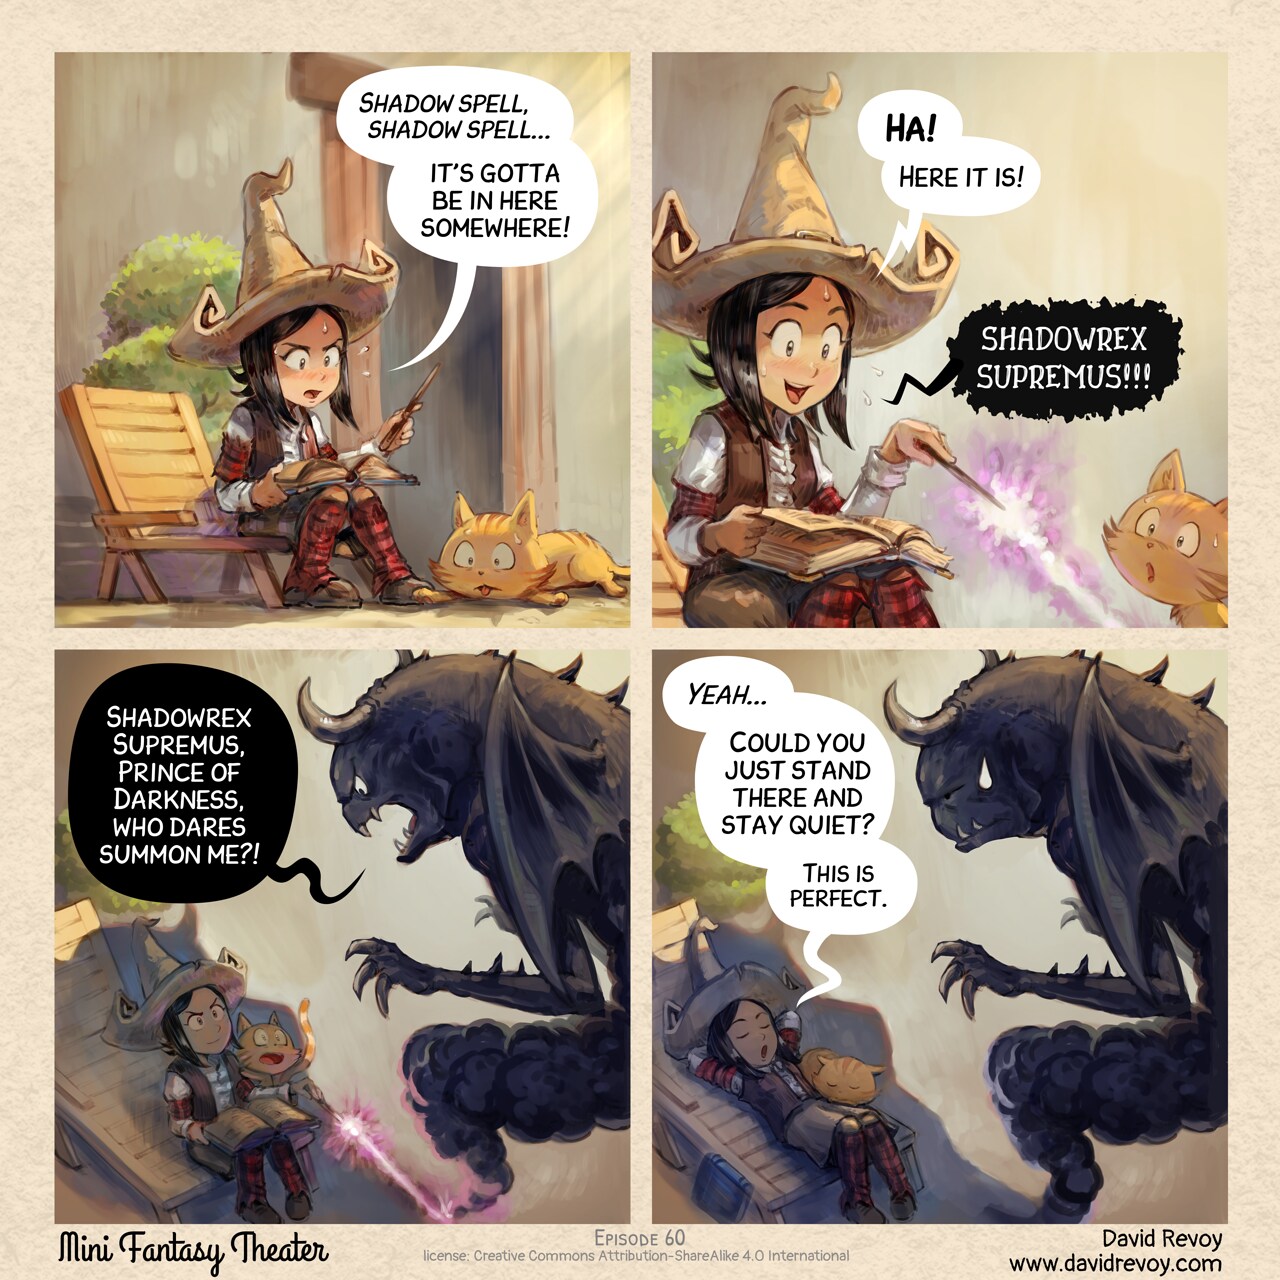
Summer Witchcraft
comics.movim.eu / PepperCarrot • 8 July 2026
-
Pe
chevron_right
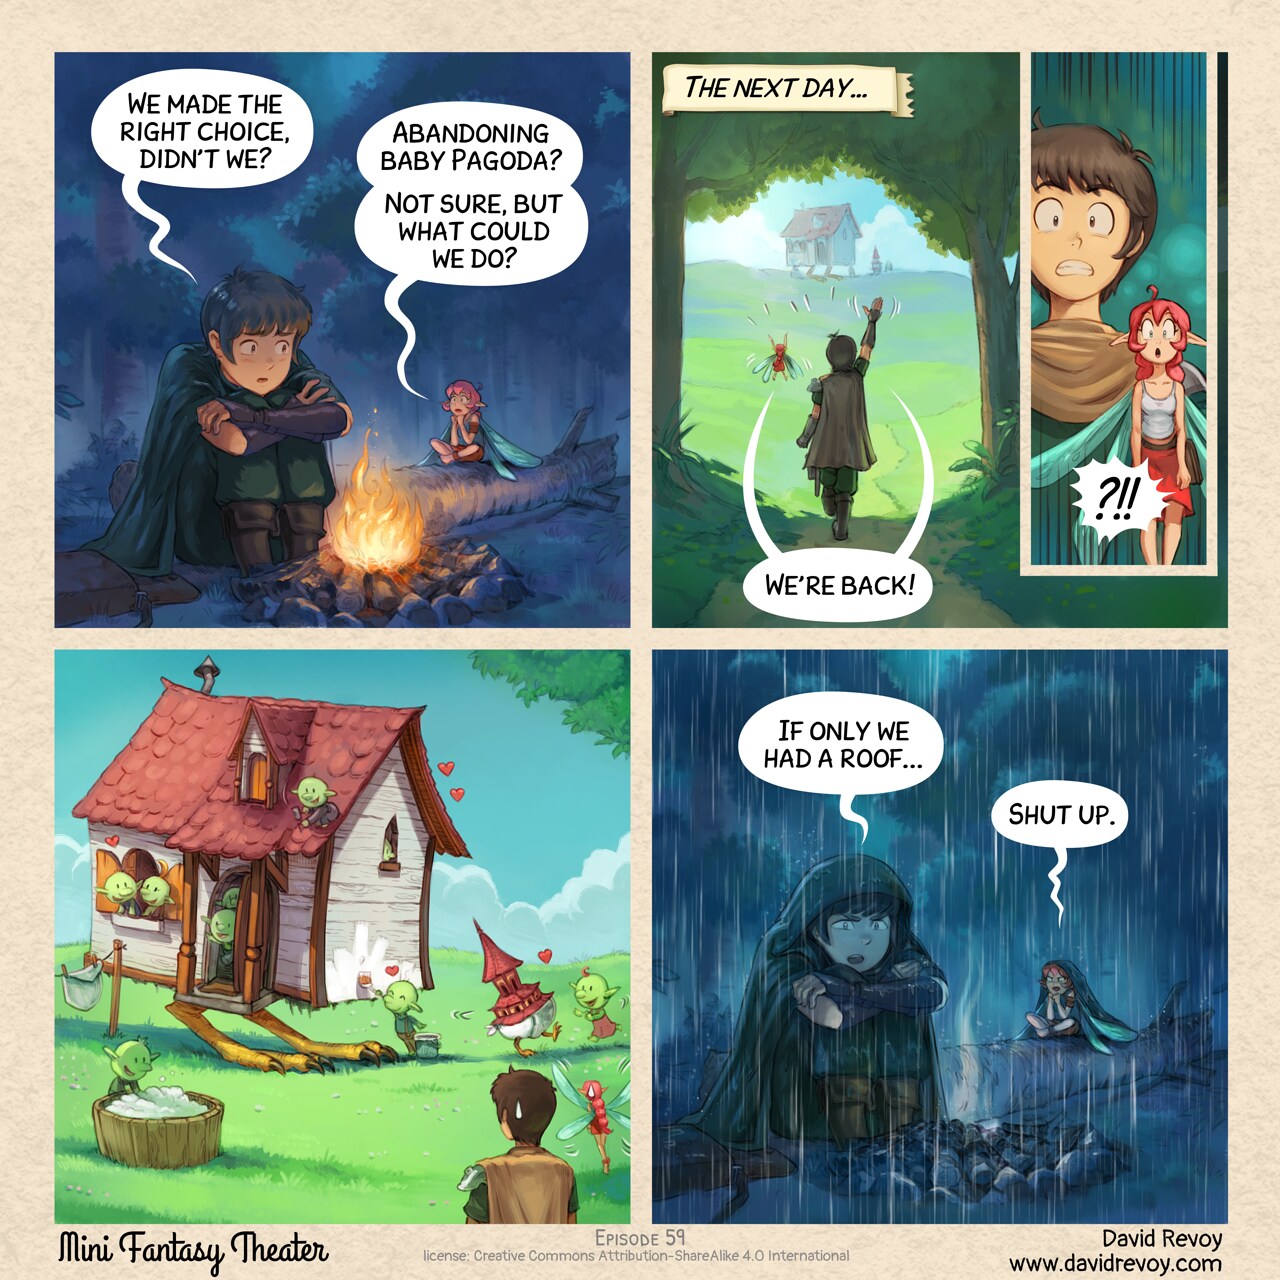
Baby Pagoda Side Quest: Failed
comics.movim.eu / PepperCarrot • 1 July 2026
-
Pe
chevron_right
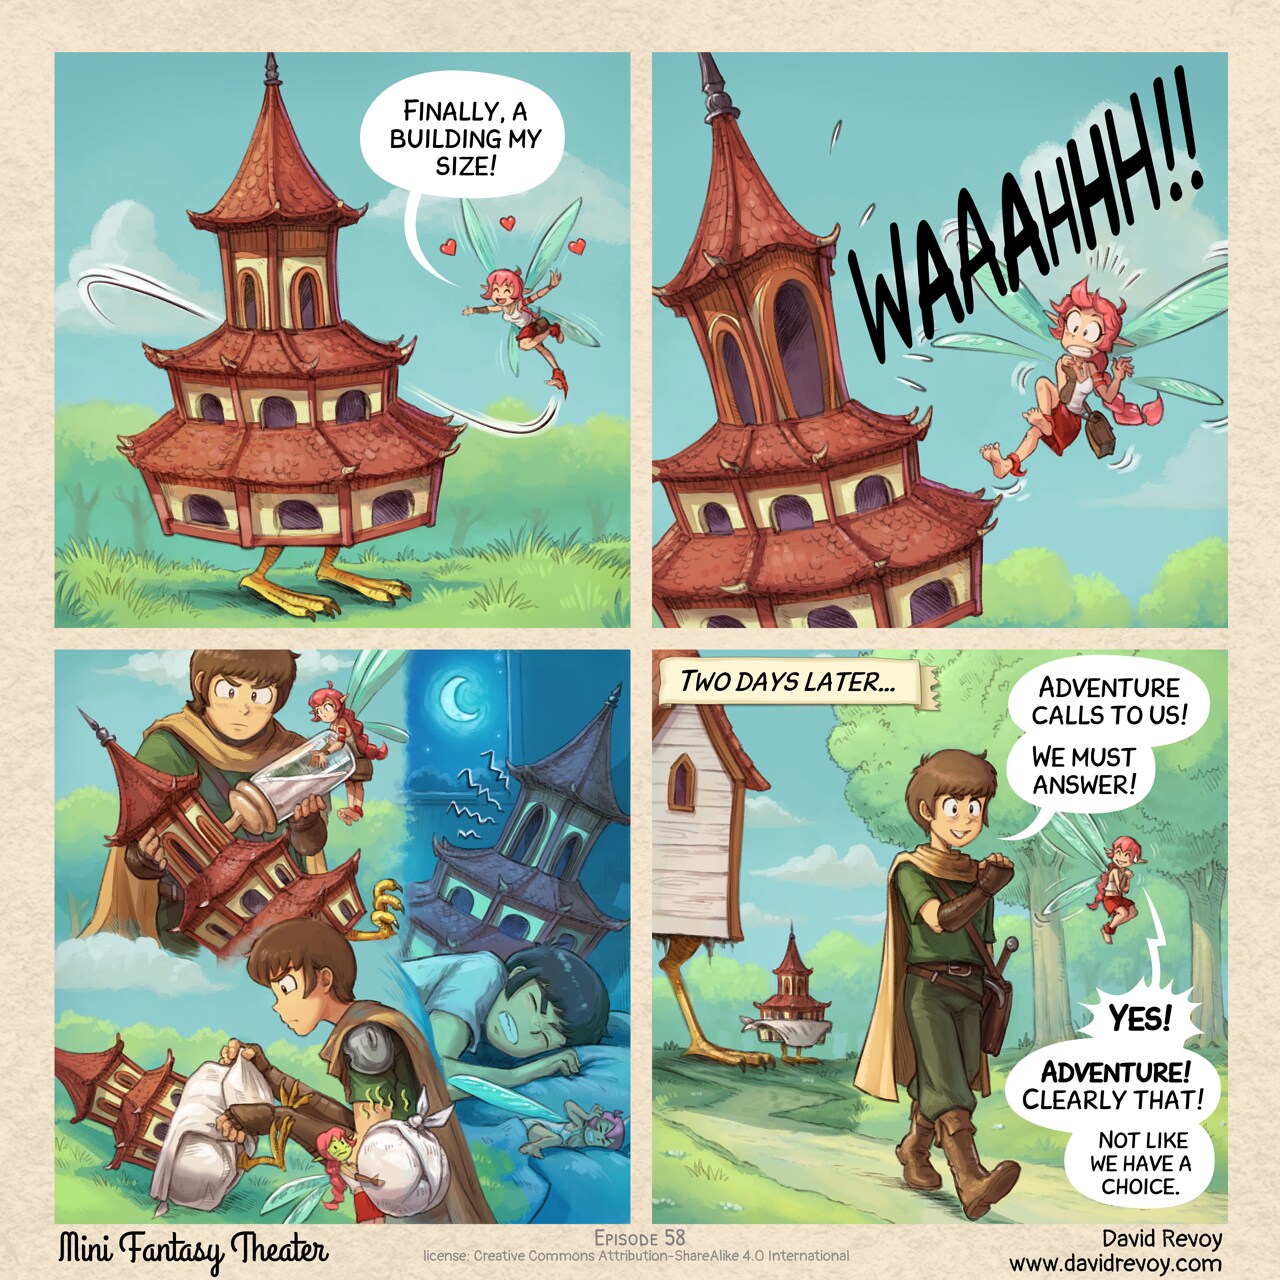
Adventure Calls (Clearly)
comics.movim.eu / PepperCarrot • 24 June 2026
-
Pe
chevron_right
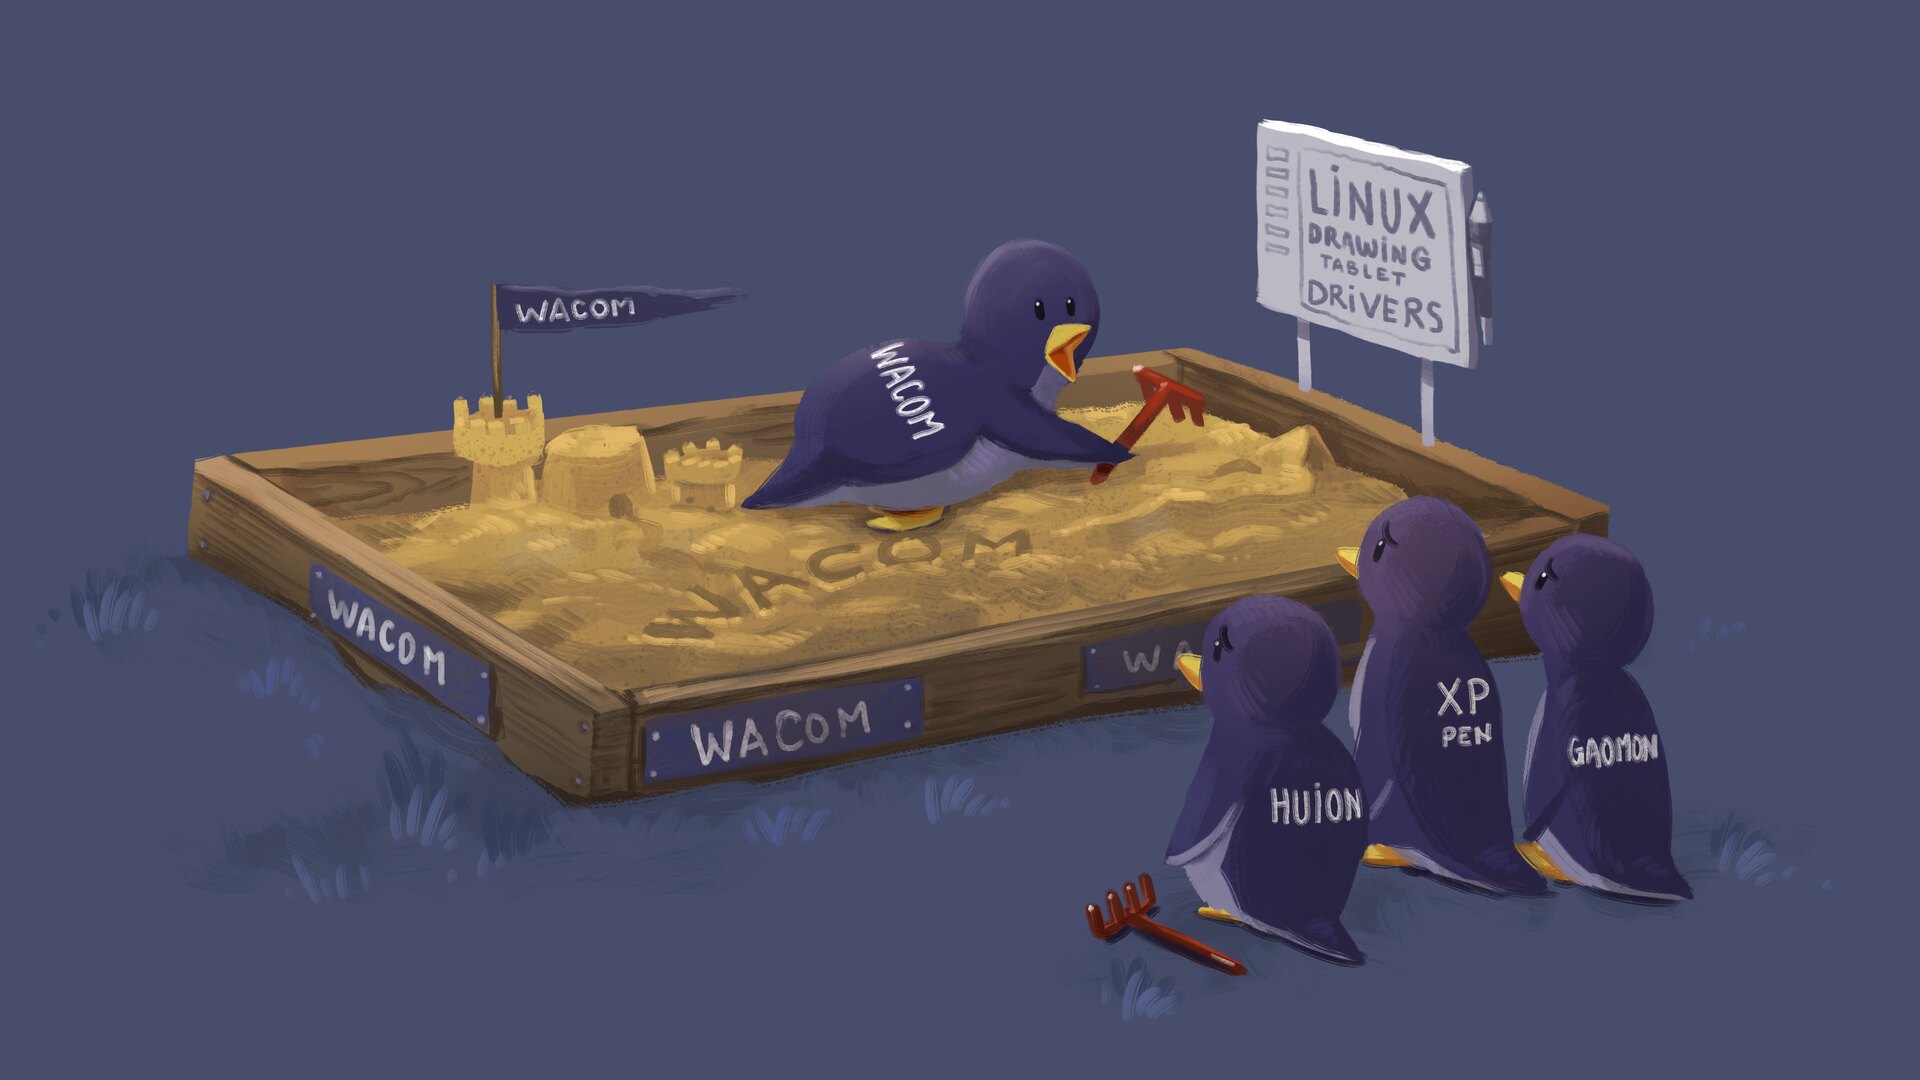
Why Drawing Tablet Brands Won't Collaborate on Linux FLOSS Drivers
comics.movim.eu / PepperCarrot • 22 June 2026
-
Pe
chevron_right
Monthly production report 2026-05: KDE NEON install guide, a long making-of and Italy.
comics.movim.eu / PepperCarrot • 18 June 2026