

-
Pe
chevron_right
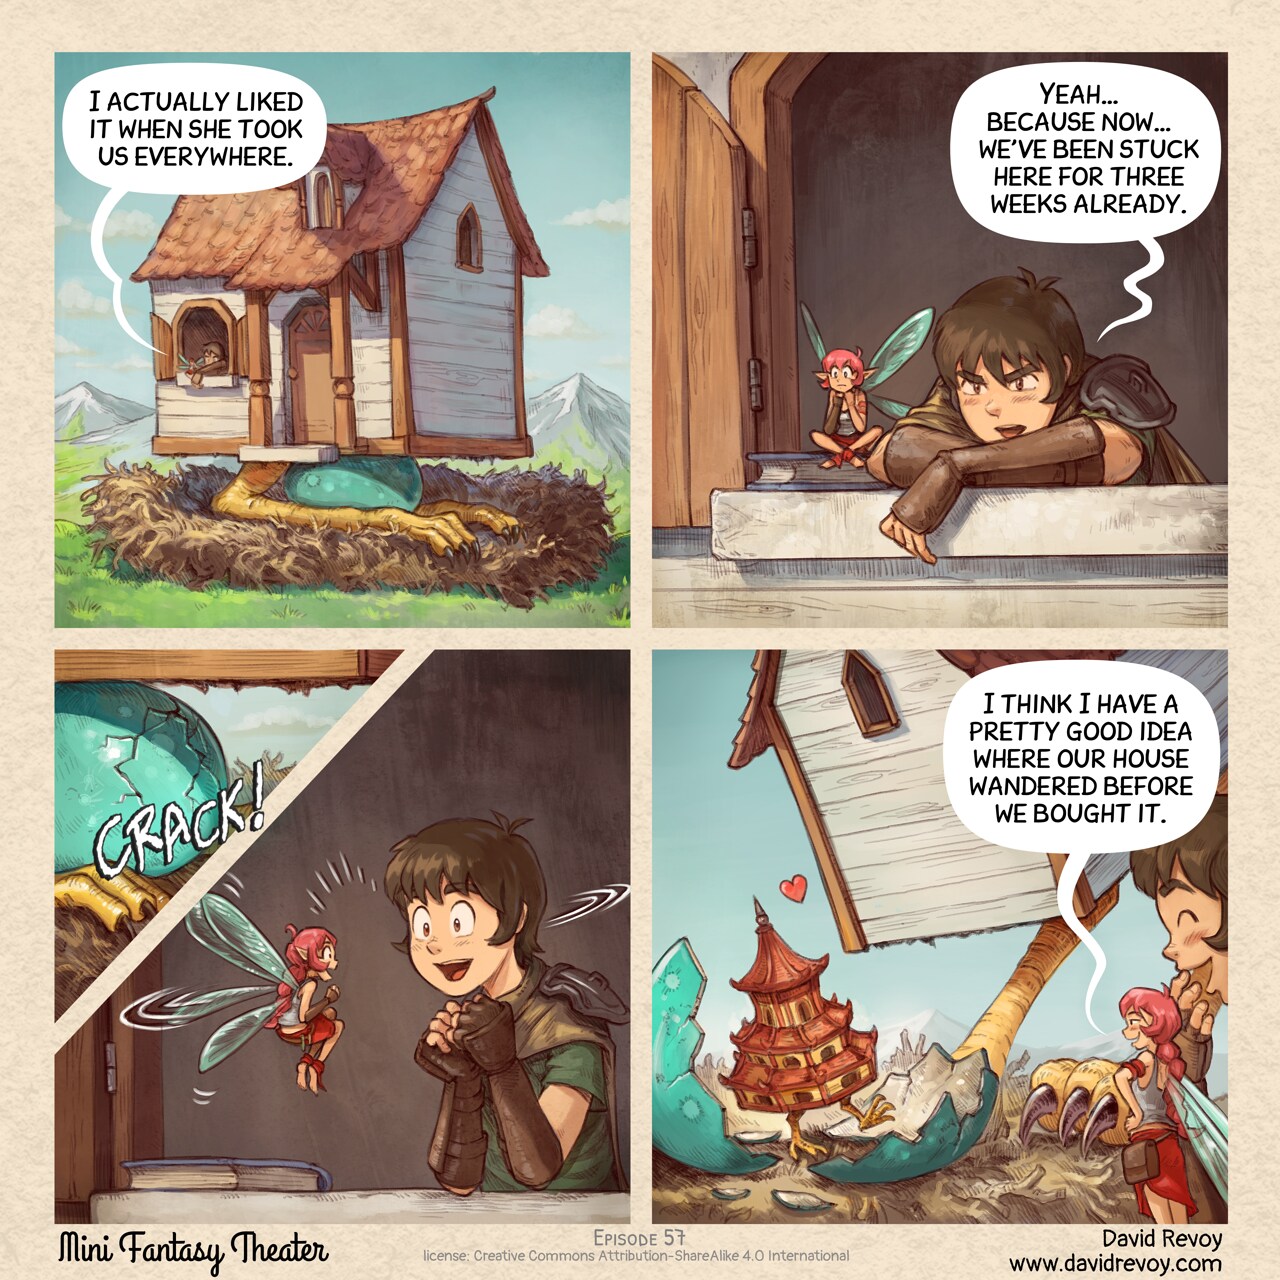
The Nest and Travel Souvenir
comics.movim.eu / PepperCarrot • 17 June 2026
-
Public subscriptions
-
Blue
-
so
- group_work rss_feed
-
Pe
chevron_right
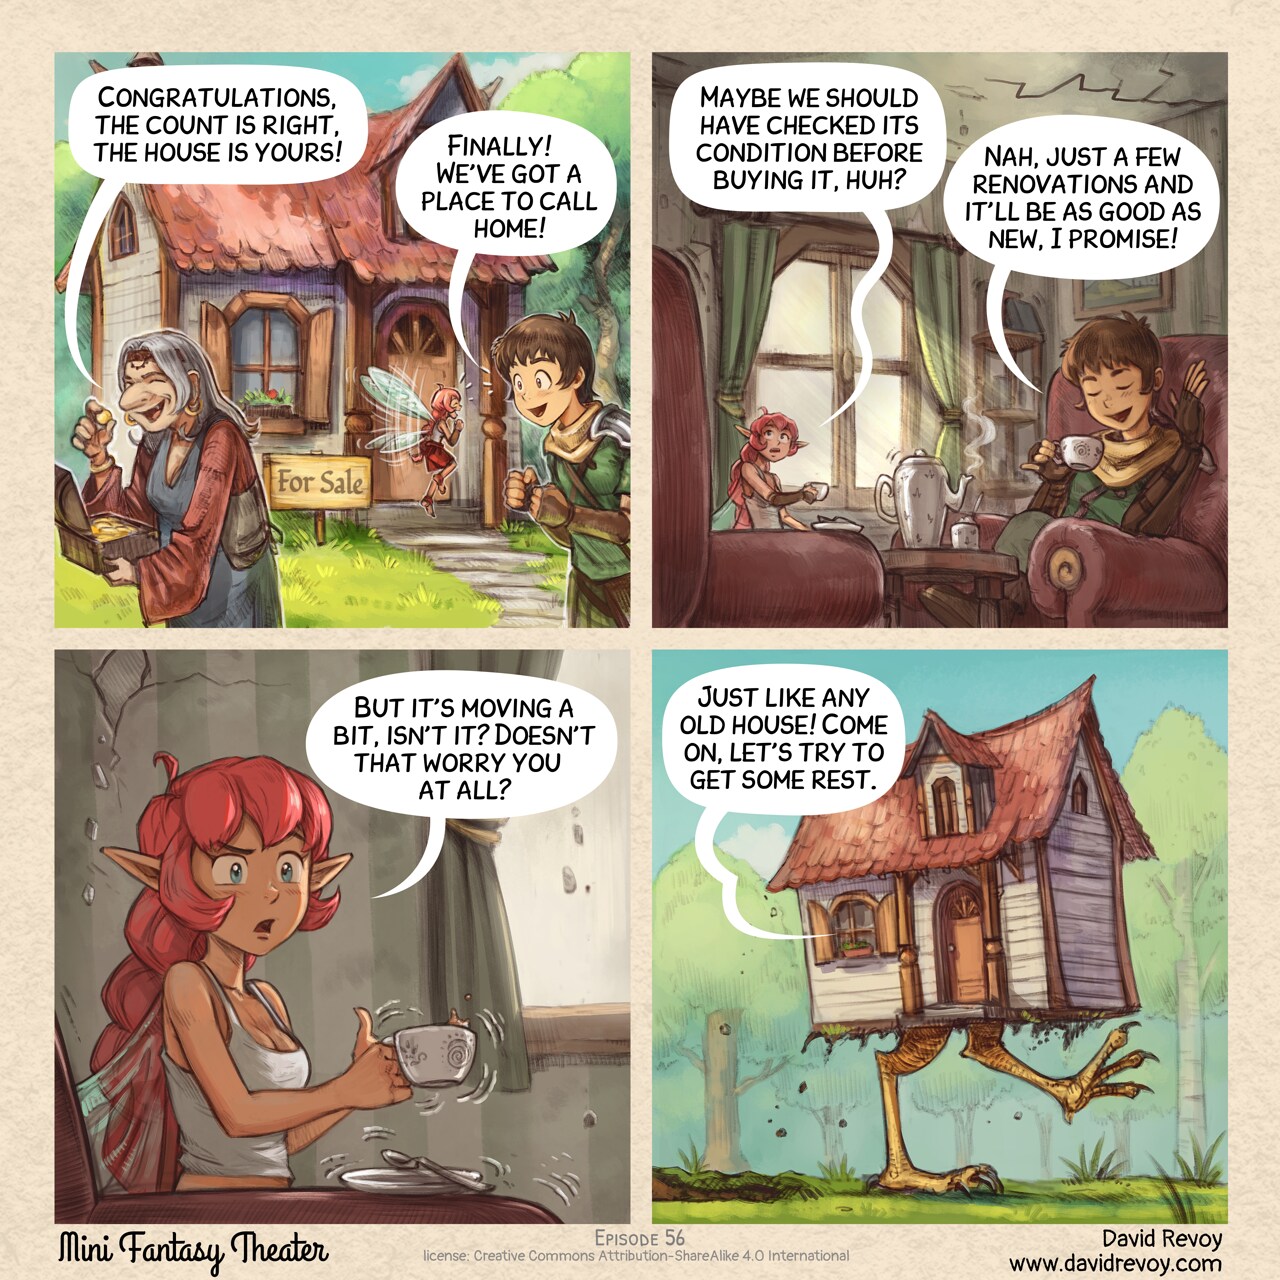
Home Sweet Home... Sort of
comics.movim.eu / PepperCarrot • 10 June 2026
-
Pe
chevron_right
Tutorial: a Comic strip from A to Z with Krita
comics.movim.eu / PepperCarrot • 5 June 2026
-
Pe
chevron_right
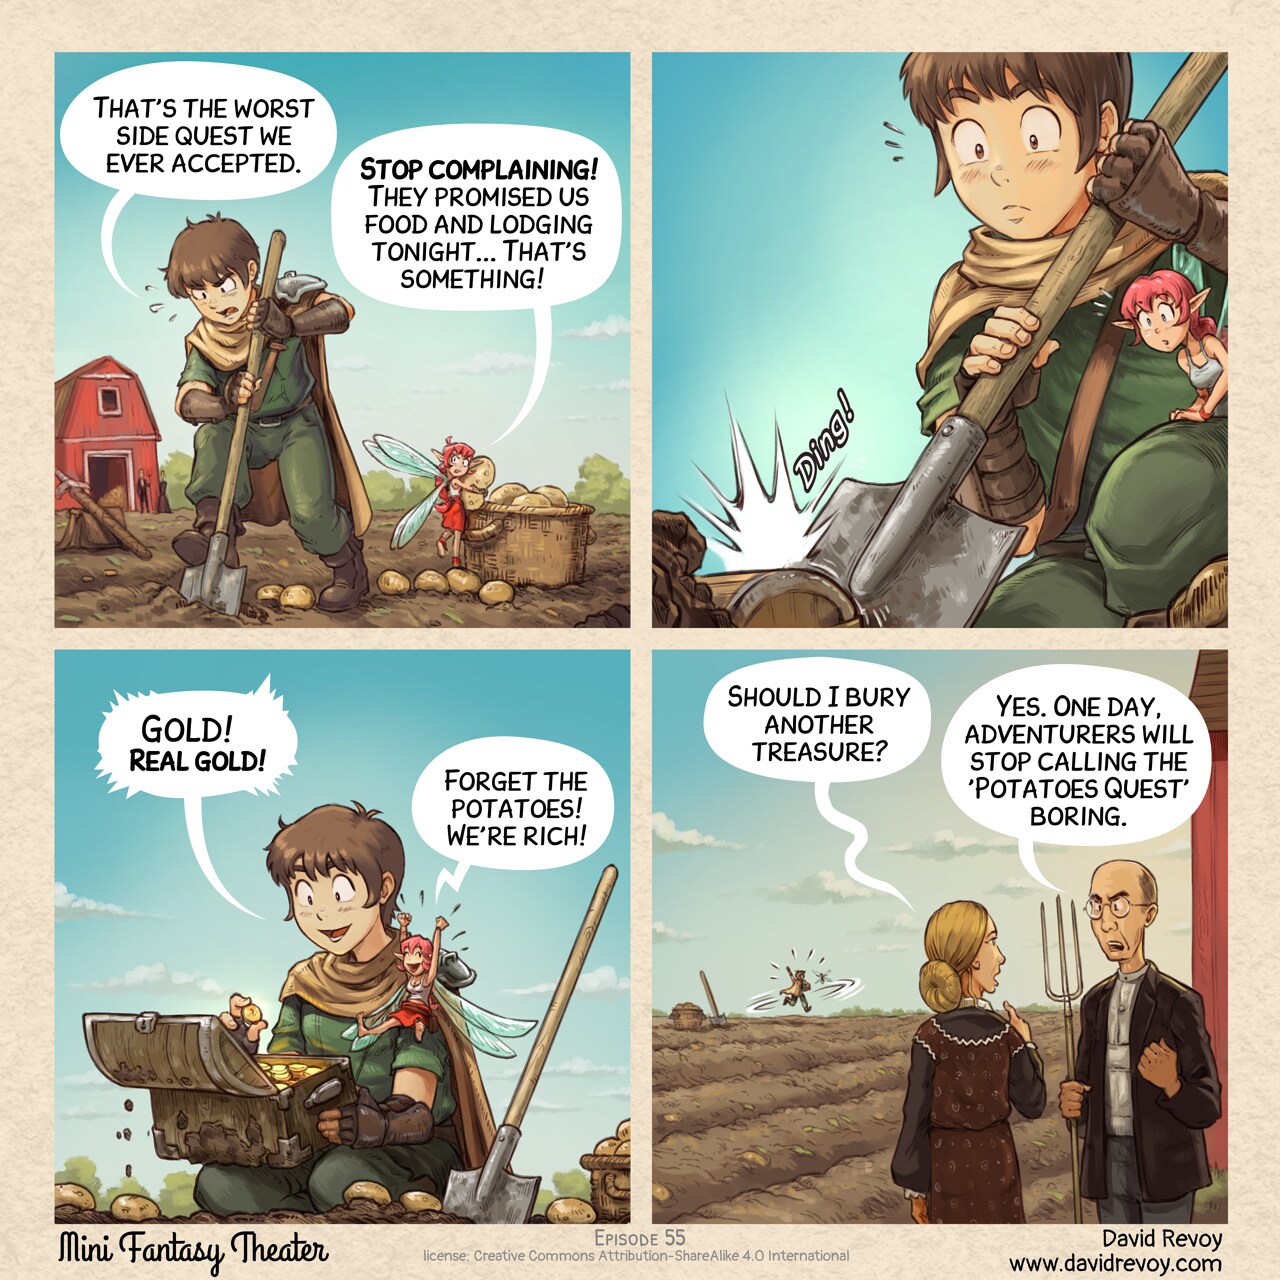
The Potatoes Quest
comics.movim.eu / PepperCarrot • 3 June 2026
-
Pe
chevron_right
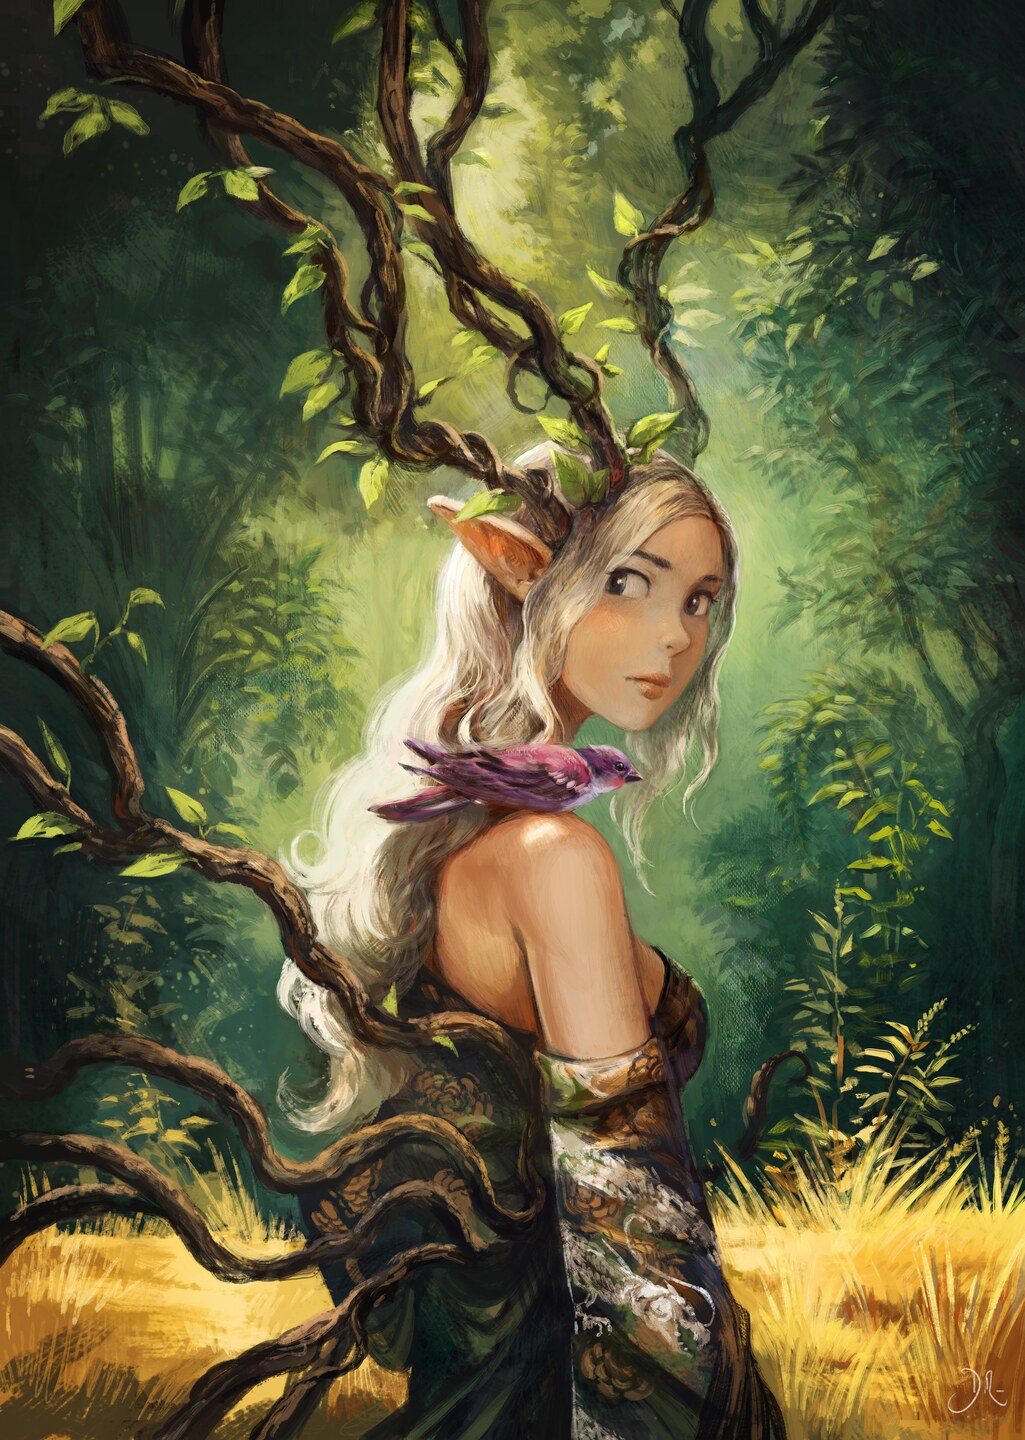
Dryad, a poster illustration for the Geek Faeries Festival.
comics.movim.eu / PepperCarrot • 28 May 2026
-
Pe
chevron_right
Finally, a quest worth doing
comics.movim.eu / PepperCarrot • 27 May 2026
-
Pe
chevron_right
Signing session at Torino Comics, Italy (May 30th to 31th)
comics.movim.eu / PepperCarrot • 25 May 2026
-
Pe
chevron_right
Breathing Underwater
comics.movim.eu / PepperCarrot • 20 May 2026
-
Pe
chevron_right
Classic vendor move
comics.movim.eu / PepperCarrot • 13 May 2026
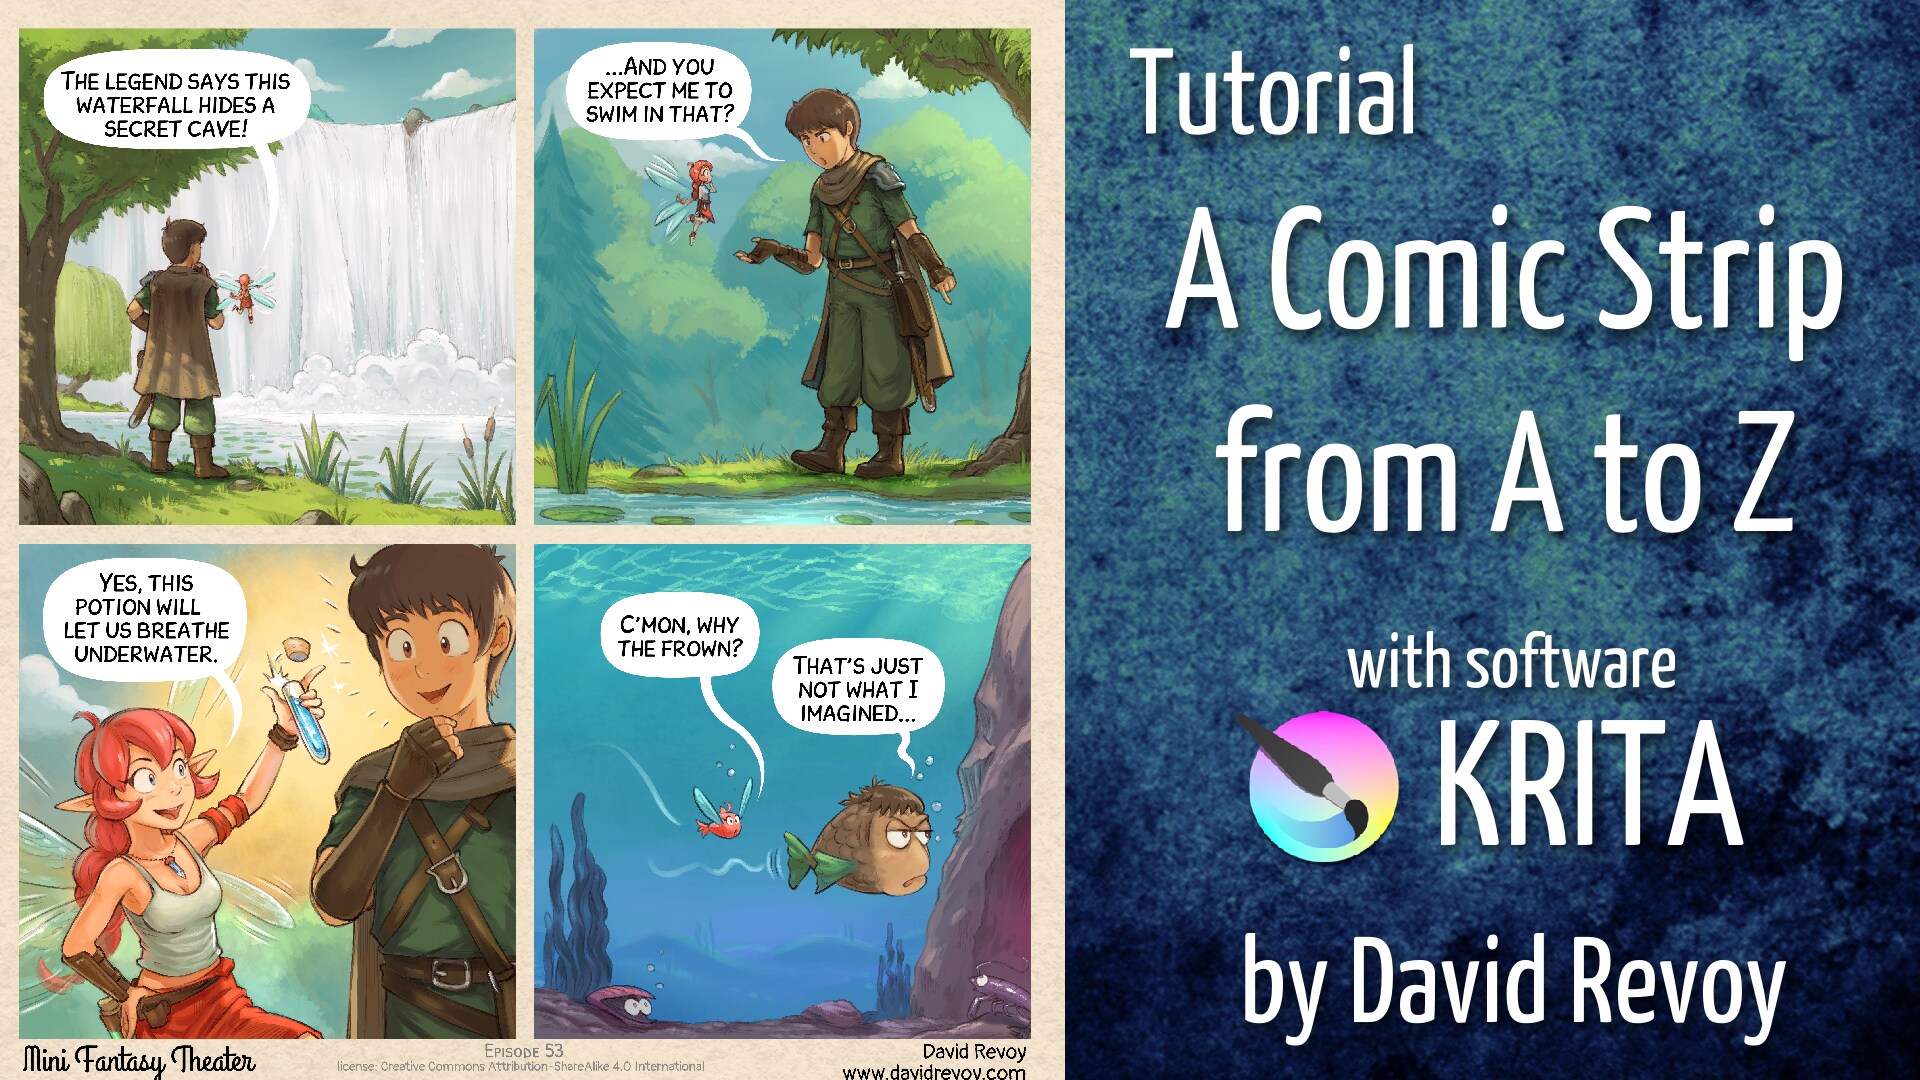

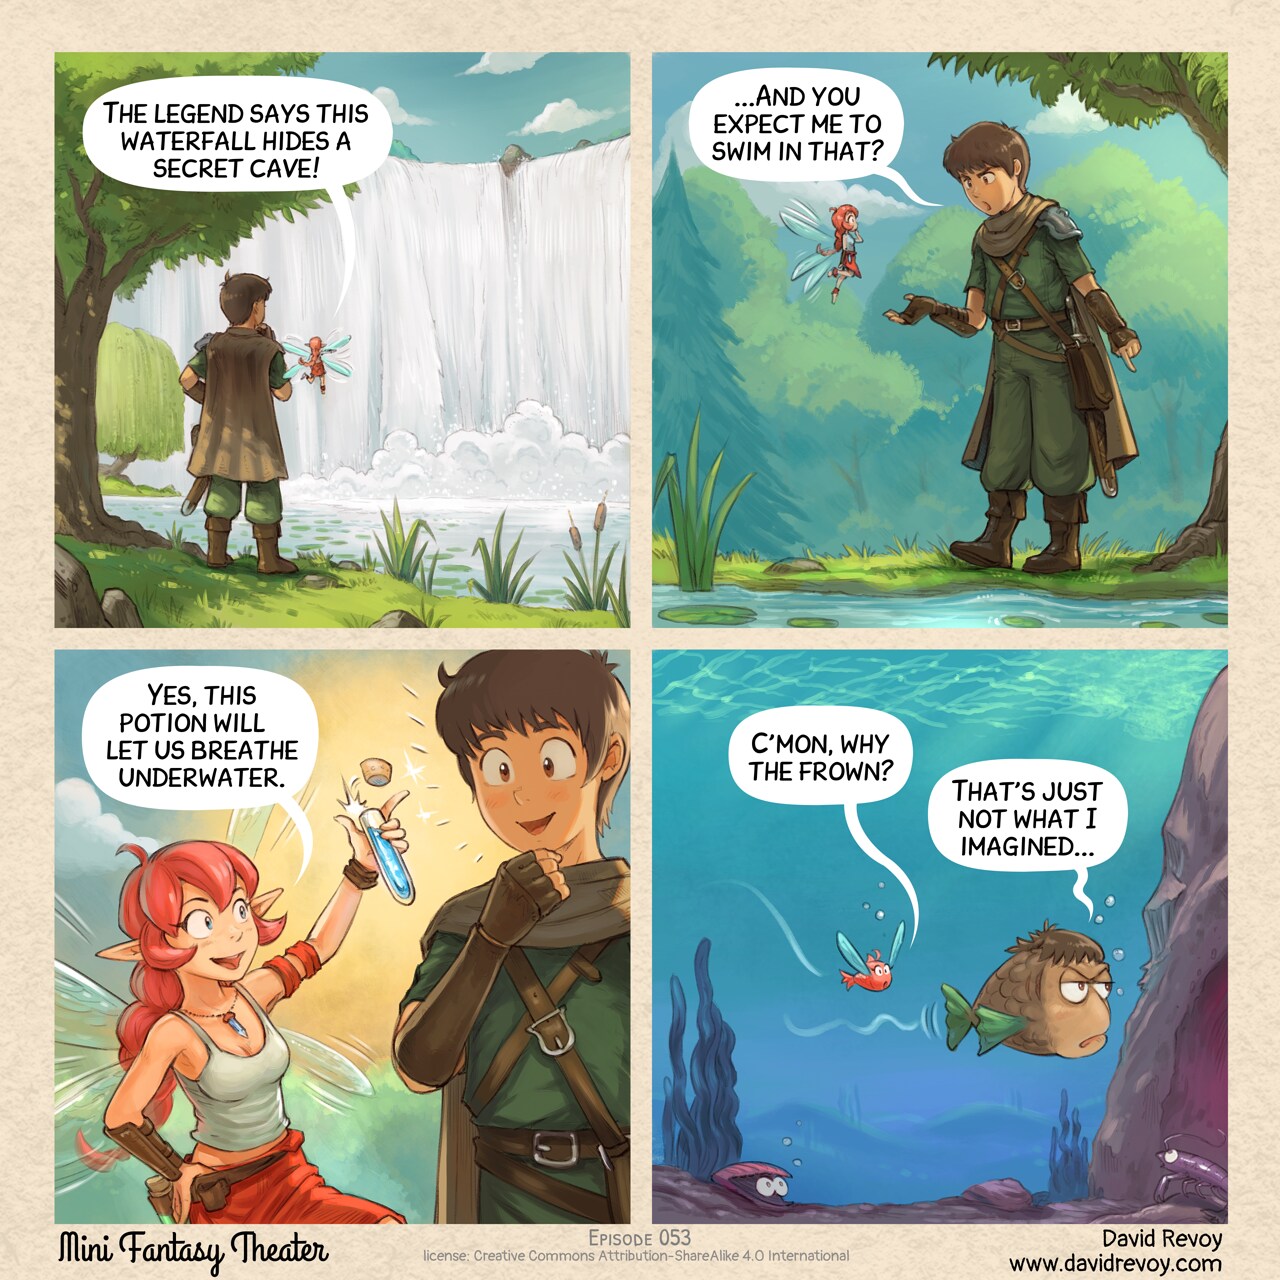
Sources and bonus timelapse: https://www.peppercarrot.com/en/miniFantasyTheater/053.html
Transcript:
Panel 1. The Adventurer and the Pink Fairy stand in front of a massive waterfall, deep within a dark forest.
Pink Fairy: "The legend says this waterfall hides a secret cave!"
Panel 2. The Adventurer looks skeptical and upset as he points the water's edge.
Adventurer: "..And you expect me to swim in that?"
Panel 3. The Pink Fairy happily holds up a small blue potion that she opens with her thumb. The Adventurer is now enthusiast to try it.
Pink Fairy: "This will potion let us breathe underwater."
Panel 4. Underwater: two fish—one themed for the first in the Pink Fairy's colors, the other in the Adventurer's colors. They swim nearby. He looks bored and a bit upset.
Fish (Pink Fairy): "C'mon, why the frown?"
Fish (Adventurer): "That's just not what I imagined..."
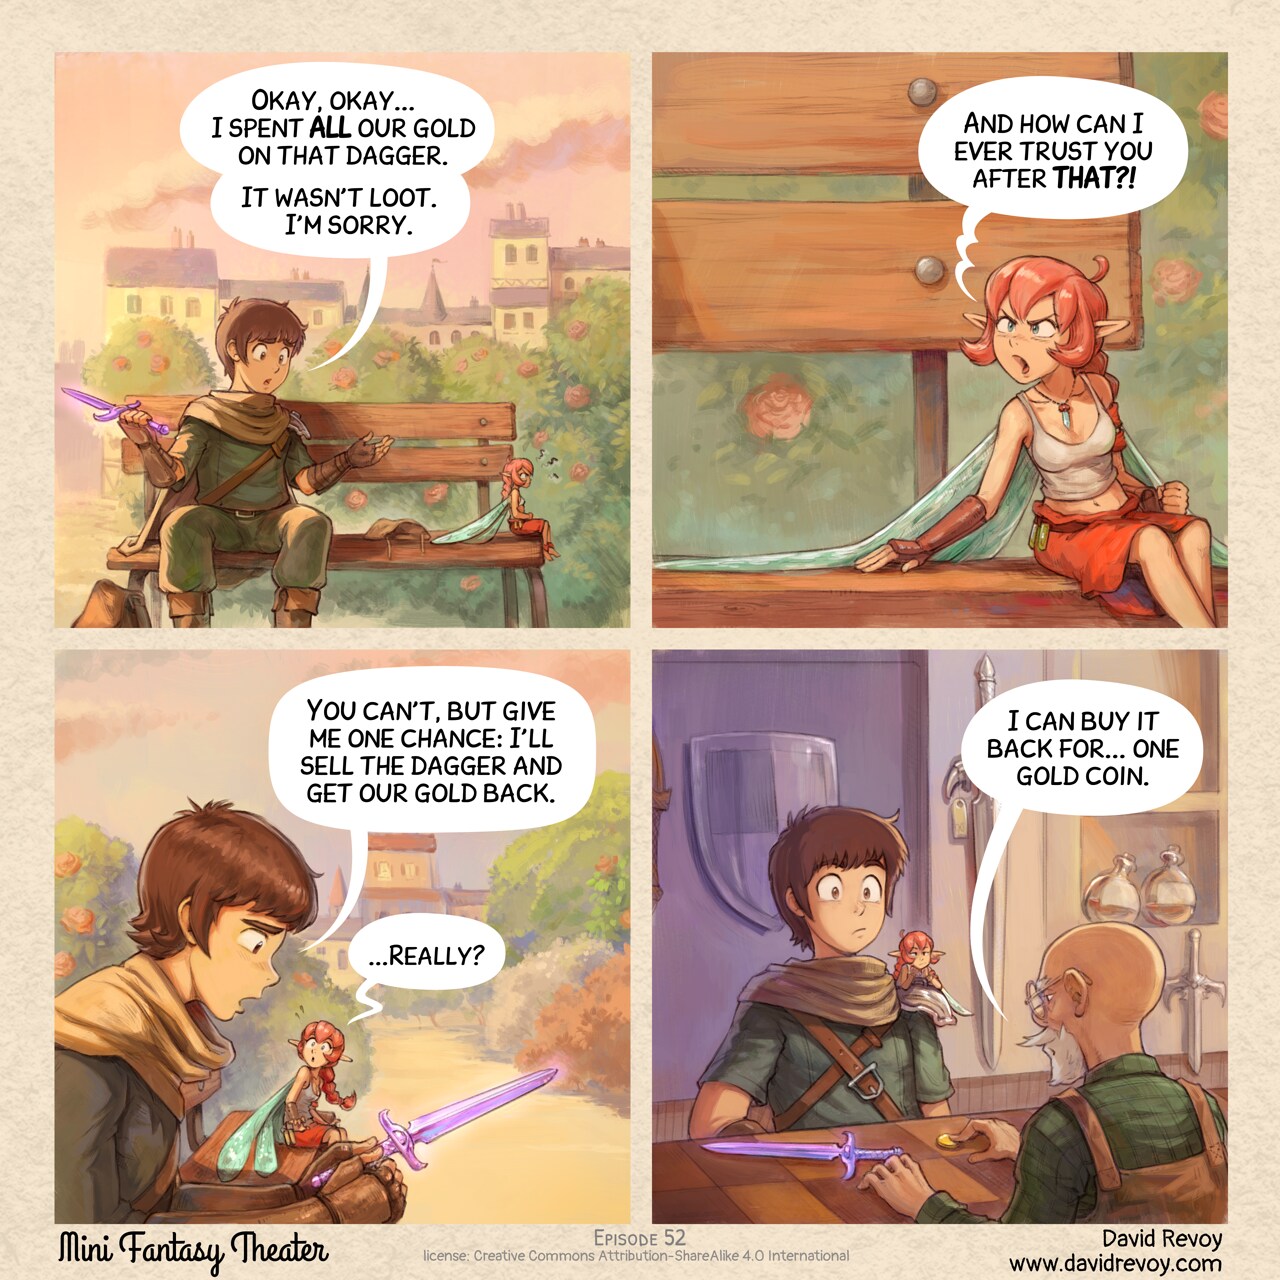
Sources and bonus timelapse: https://www.peppercarrot.com/en/miniFantasyTheater/052.html
Transcript:
A comic in four panels.
Panel 1. The adventurer and pink fairy sit on an old wooden bench in a city square, under the sunset light. The adventurer looks guilty while the fairy sits with crossed arms, furious and turned away from him.
Adventurer: "Okay, okay... I spent ALL our gold on that dagger. It wasn't loot. I'm sorry."
Panel 2. The Pink Fairy turns back, angry:
Pink fairy: "And how can I ever trust you after THAT?!"
Panel 3. The adventurer feels sincerely sorry and sad while watching in his hand the purple epic dagger. The pink fairy watches him with wide eyes, pleasantly surprised.
Adventurer: "You can't, but give me one chance: I'll sell the dagger and get our gold back."
Pink fairy: "...Really?"
Panel 4. Inside the shop, the adventurer places the purple epic dagger on the counter. The merchant pushes a single coin across toward them. Both the adventurer and pink fairy stare in disbelief.
Merchant: "I can buy it back for... one gold coin."